Swatch 2
Frame loom weaving
A frame loom is just a sturdy rectangle with notches or nails along the top and bottom. It's the perfect way to learn tension, rhythm and finishing, and the results make beautiful wall hangings.
What you need
- A frame loom, around 30 × 40 cm is a good first size
- Strong, smooth warp yarn, such as cotton warp thread, that won't stretch or fray
- Weft yarns in wool, cotton or anything soft and colourful
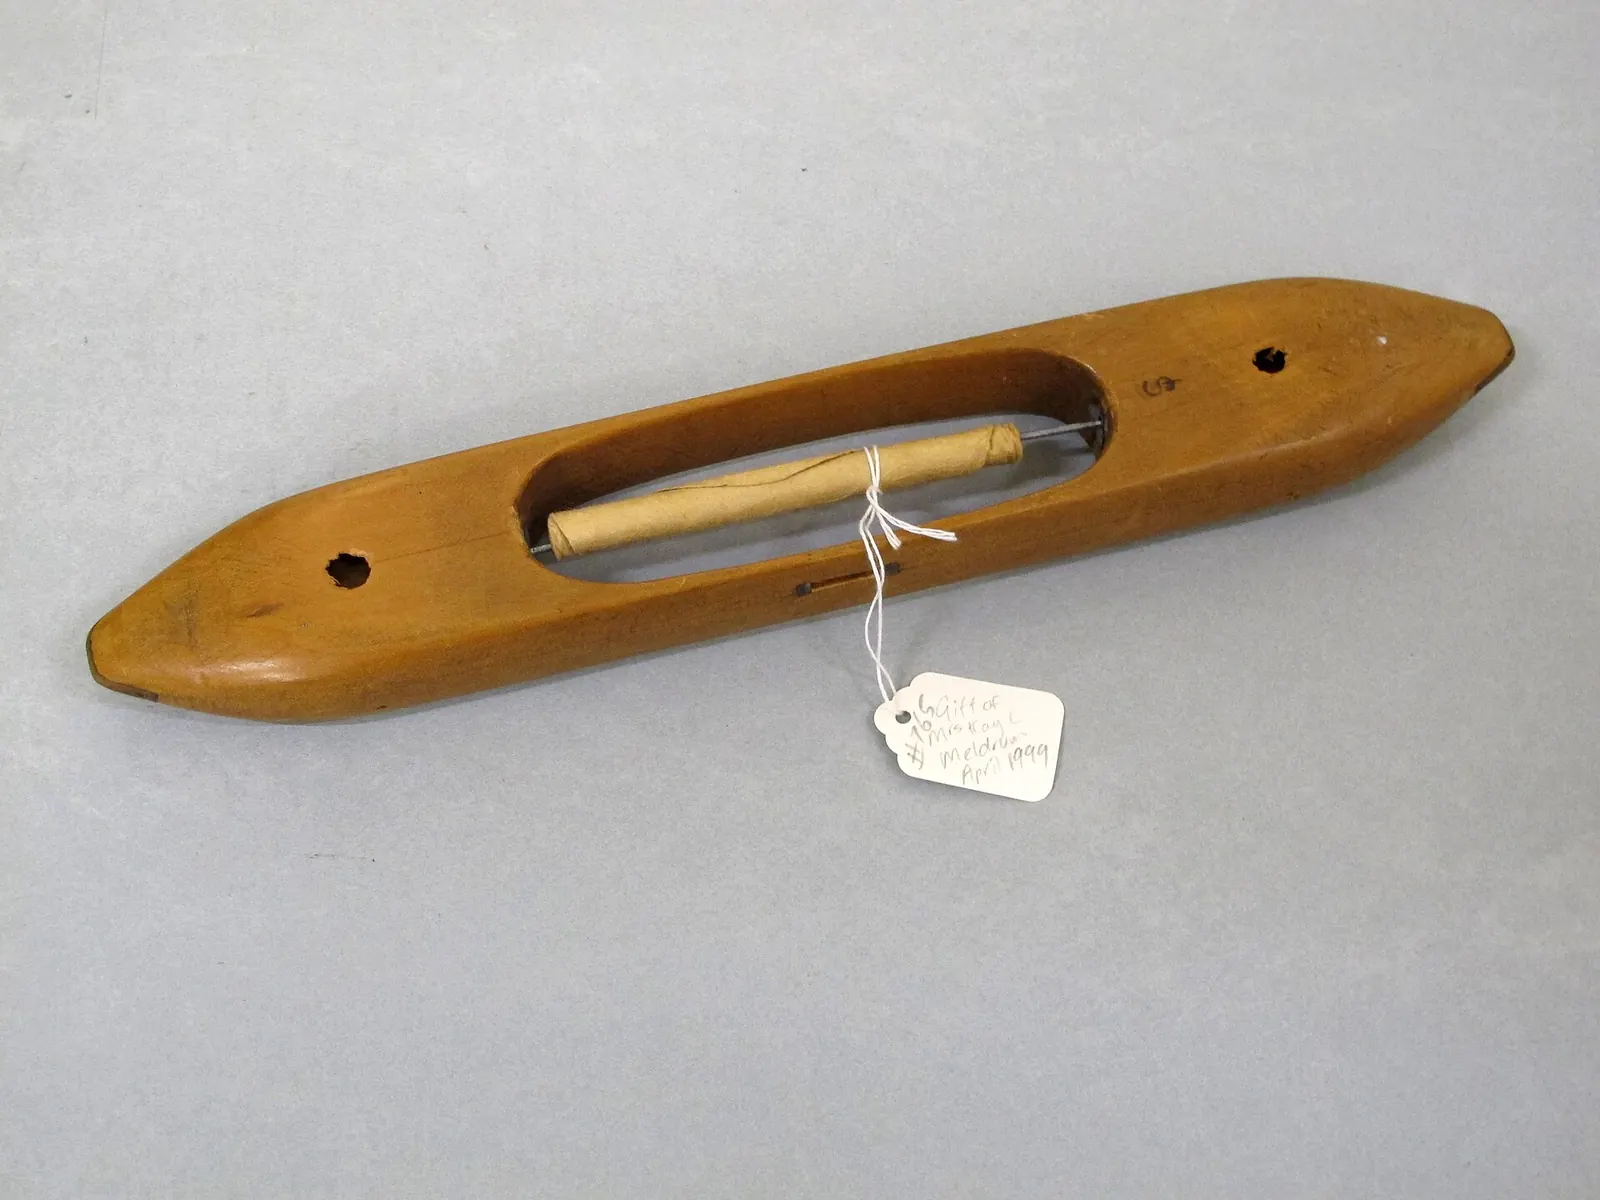
- A shed stick, a stick shuttle or tapestry needle, and a comb or fork for beating
- Scissors and a wooden dowel for hanging the finished piece
Warping the loom
- Tie the warp yarn to the bottom bar at one side.
- Take it up to the top bar, around a notch or nail, and back down, continuing across the loom in a continuous figure-of-eight or loop.
- Keep the tension firm and even, like a guitar string, but not so tight the frame bends.
- Tie off at the far side. Check the tension by running your hand across: every thread should feel the same.
Spacing matters. Warps about 5 mm apart suit medium-weight wool weft. Closer warps give finer detail; wider ones suit chunky yarns.
Weaving
- Heading: weave a few rows of plain weave in warp yarn or thin cotton at the bottom. It spaces the warps evenly and gives a firm base.
- Open the shed: weave a flat shed stick over and under the warps and turn it on its edge to lift alternate threads.
- Pass the weft through the shed, leaving a short tail to weave in later.
- Lay it in an arc, or in small "bubbles", rather than pulling it straight. This gives the weft enough length to bend around the warps.
- Beat it down with the comb, then pick up the opposite warps by hand or with a needle for the next row.
Keeping the edges straight
The most common beginner problem is "draw-in": the weaving gets narrower as you go, making an hourglass shape. It happens when the weft is pulled too tight at the edges. Arc or bubble every row, check the width against a ruler often, and don't tug the weft as it turns around the outermost warp.
Changing colour
To start a new colour, leave the old weft's tail hanging at the back and start the new yarn in the same shed, overlapping the tails slightly. Tails can be woven in at the end. Plan big colour changes at the edges or at the end of a shape for neater results.
Finishing
- Finish with a few rows of heading, matching the bottom.
- Cut the warp loops at the top and bottom, two at a time, and tie each pair in an overhand knot close to the weaving.
- Thread all the weft tails to the back with a tapestry needle and weave them in along a nearby warp.
- Fold the top warp ends over a dowel and stitch or tie them in place, or add a fringe at the bottom.
Common problems
| Problem | Cause | Fix |
|---|---|---|
| Edges pulling in | Weft too tight | Arc or bubble each row |
| Wavy, loopy edges | Too much weft left in | Use a gentler arc |
| Warp showing through | Rows not beaten down firmly | Beat more firmly; use thicker weft |
| Uneven tension | Warp wound inconsistently | Rewarp; keep an even pull |
Questions weavers ask
Can I make my own frame loom?
Yes. A sturdy picture frame or four pieces of wood screwed together, with small nails along the top and bottom about 5 mm apart, works well.
How long will my first weaving take?
A small wall hanging can be woven in a few evenings. Warping and finishing take about an hour each.